How To Take a Screenshot on Windows
Use keyboard shortcuts to take screenshots on a Windows PC
Sep 18, 2024 | Share
Equipment Guides, How-To
Taking a screenshot on a Windows PC is pretty straightforward, since most PC keyboards have a Print Screen button, but there are a few steps in the process that can be a bit confusing, especially if you’re used to working on a Mac. There are also a few additional ways to take a screenshot that not all PC users might be aware of.
How to take a basic screenshot

Step 1: Press the PrtSc (or Print Screen) button to copy the screen to the clipboard.
Step 2: Open Paint or another image editing program.
Step 3: Press Ctrl + V to paste the screenshot.
Step 4: Save your screenshot as an image. In Paint, click File, then Save.
Pro Tip:
On smaller keyboards like those found on laptops, the PrtSc button is often doubled up with another key, like the home key. If this is the case, you might also have to hold down the Fn (Function) Key whenever you want to press PrtSc
How to take a quick screenshot

Step 1: Press the Windows logo key + PrtSc. This will automatically save a screenshot as a PNG in the Screenshots folder in your Pictures folder.
How to take a screenshot of a single window

Step 1: Click on the window or menu you want to capture.
Step 2: Press Alt + PrtSc to copy the screen to the clipboard.
Step 3: Open Paint or another image editing program.
Step 4: Press Ctrl + V to paste the screenshot.
Step 5: Save your screenshot as an image. In Paint, click File, then Save.
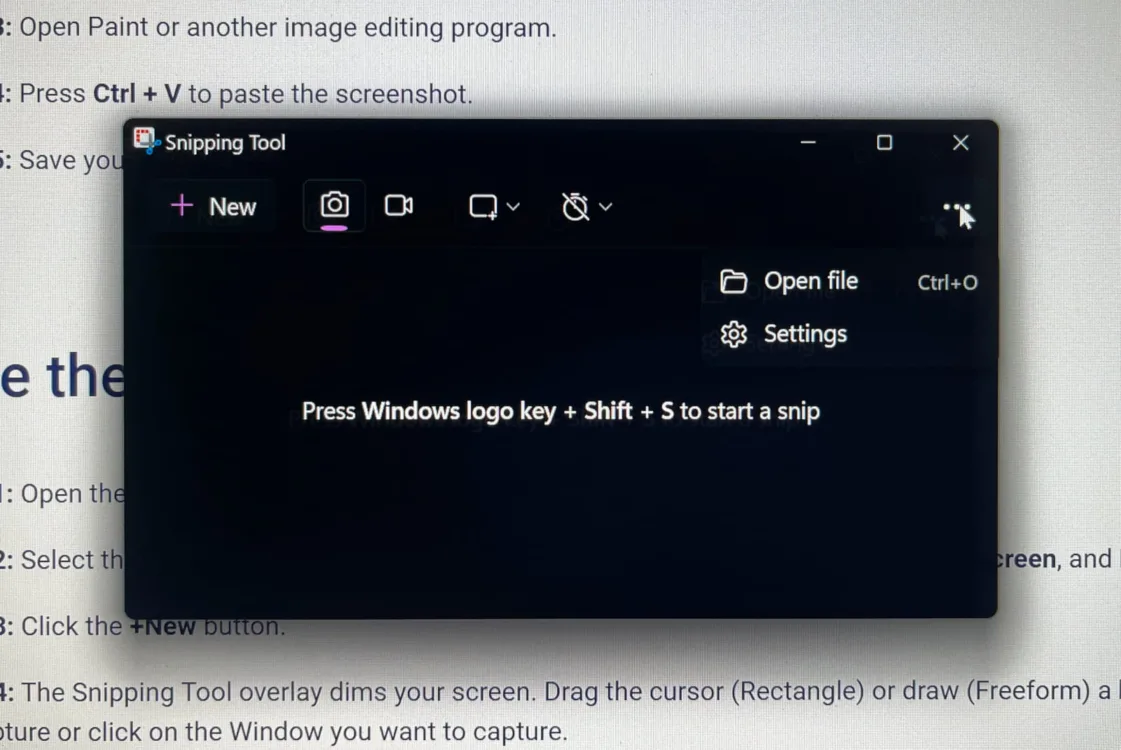
Use the Snipping Tool

Step 1: Open the Snipping Tool app using the Start Menu.
Step 2: Select the type of screenshot you want. Your options are Rectangle, Window, Full Screen, and Freeform.
Step 3: Click the +New button.
Step 4: The Snipping Tool overlay dims your screen. Drag the cursor (Rectangle) or draw (Freeform) a box around the area you want to capture or click on the Window you want to capture.
Step 5: Edit your screenshot within the Snipping Tool if needed.
Step 6: Save your screenshot by clicking the disk icon at the top of the app.
Pro Tip:
You can open the Snipping Tool overlay by pressing Windows logo key + Shift + S. You can also grab a video snip in the app or by pressing Windows logo key + Shift + V.
How to edit screenshots

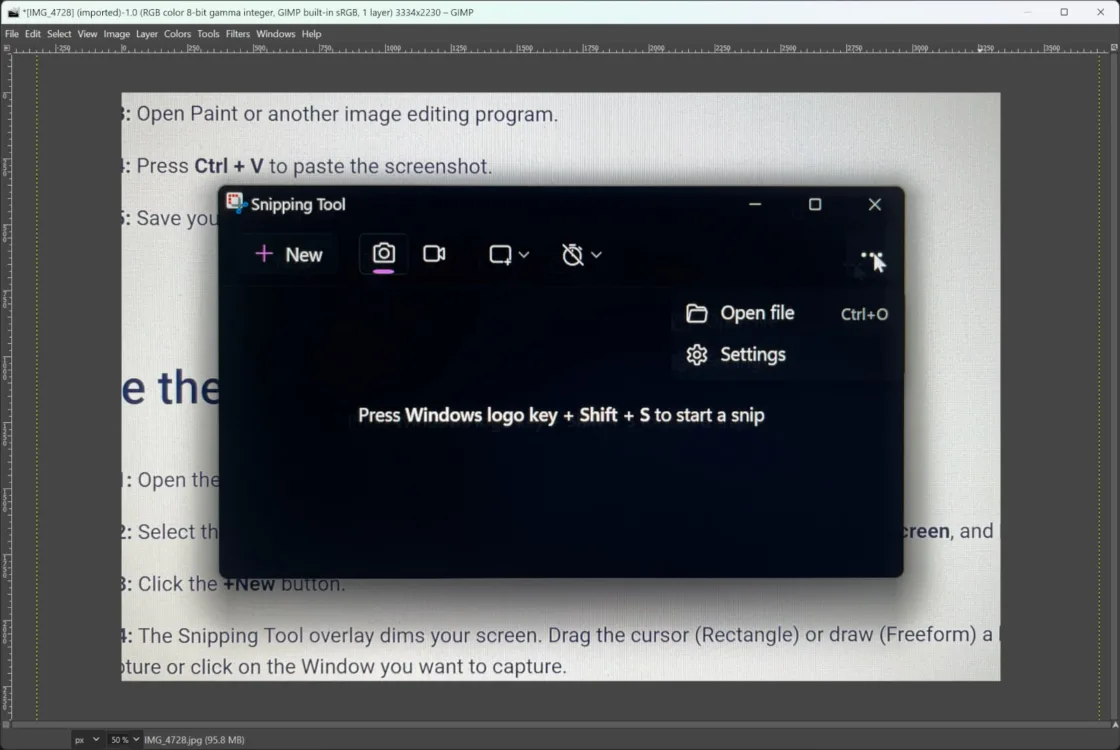
If you don’t need a screenshot of your full screen but don’t want to use the Snipping Tool, you can simply take a full screenshot and crop it down to what you need. You can do this in Paint, but it’s often a bit easier using a photo editing app like Adobe Photoshop or free programs like GIMP (shown above).
If a PNG file doesn’t work for you, use these apps to convert your screenshot to a different format, like JPG.
Author - Peter Christiansen
Peter Christiansen writes about telecom policy, communications infrastructure, satellite internet, and rural connectivity for HighSpeedInternet.com. Peter holds a PhD in communication from the University of Utah and has been working in tech for over 15 years as a computer programmer, game developer, filmmaker, and writer. His writing has been praised by outlets like Wired, Digital Humanities Now, and the New Statesman.
Editor - Jessica Brooksby
Jessica loves bringing her passion for the written word and her love of tech into one space at HighSpeedInternet.com. She works with the team’s writers to revise strong, user-focused content so every reader can find the tech that works for them. Jessica has a bachelor’s degree in English from Utah Valley University and seven years of creative and editorial experience. Outside of work, she spends her time gaming, reading, painting, and buying an excessive amount of Legend of Zelda merchandise.


